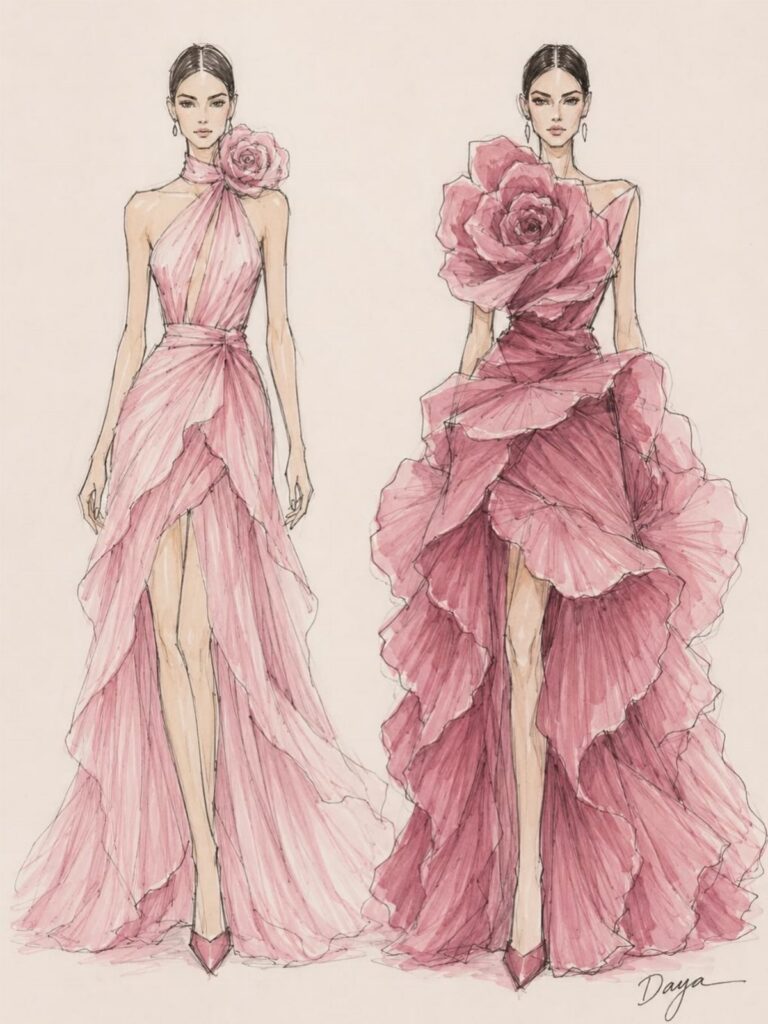
Dress design sketches start with a croquis you can trace or build yourself, and the list below walks through what actually goes into one, from the first outline to the final flat a pattern maker could use.
A 9-head croquis traced from a magazine pose and a flat laid out like an engineer’s blueprint serve different jobs in the sketching process, and the steps below cover both, plus the techniques that get you from one to the other.
1. Create a Good Croquis
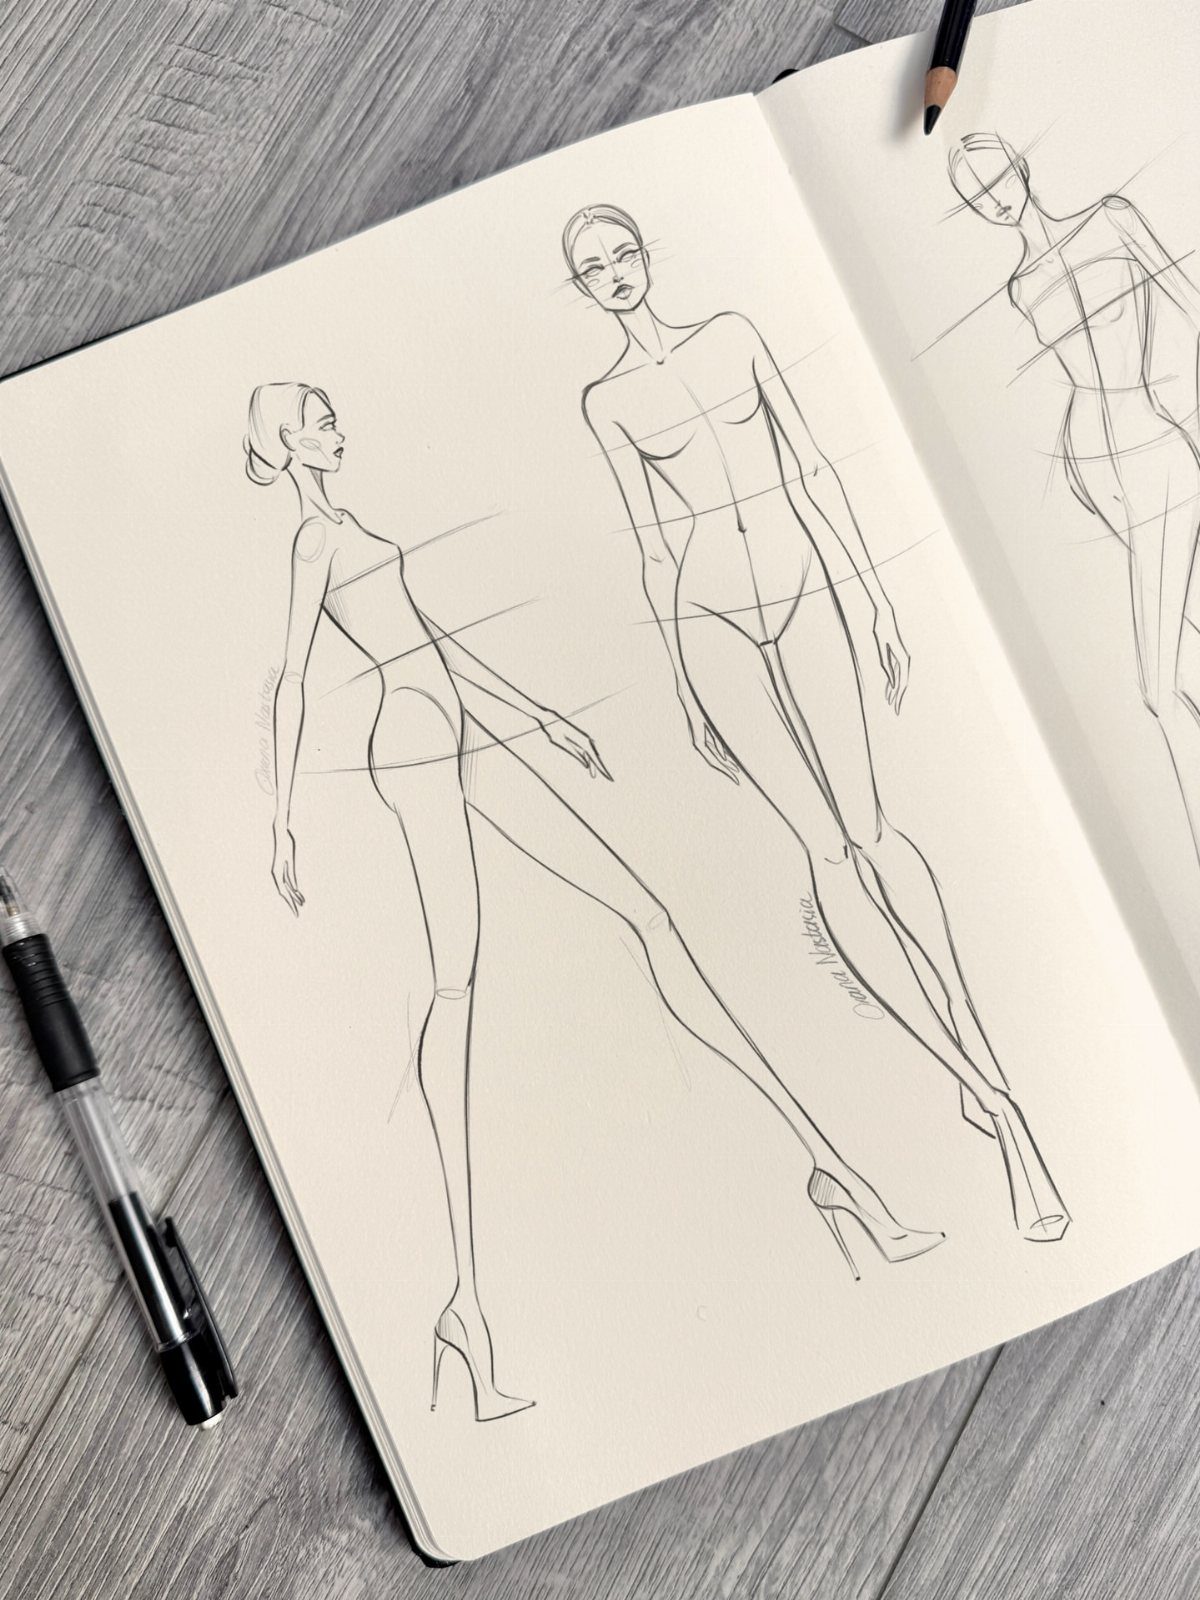
A croquis is the blank figure you draw your design onto, and getting yours right saves hours later.
For my own sketches, I trace a pose I like from a magazine photo onto thin paper, then simplify the lines until I have a 9-head proportion I can repeat.
That measurement, 9 heads tall, is the industry standard; anything shorter reads casual, anything taller starts to look alien.
If you are self-taught and drawing bodies feels shaky, trace over a photographed model until your hand learns the proportions.
Once you have one croquis you like, photocopy it fifty times so you never hesitate to start a new design because you do not want to redraw the figure.
This suits anyone who sketches regularly. Time spent on the front end saves work later.
2. Draw Clothing Designs
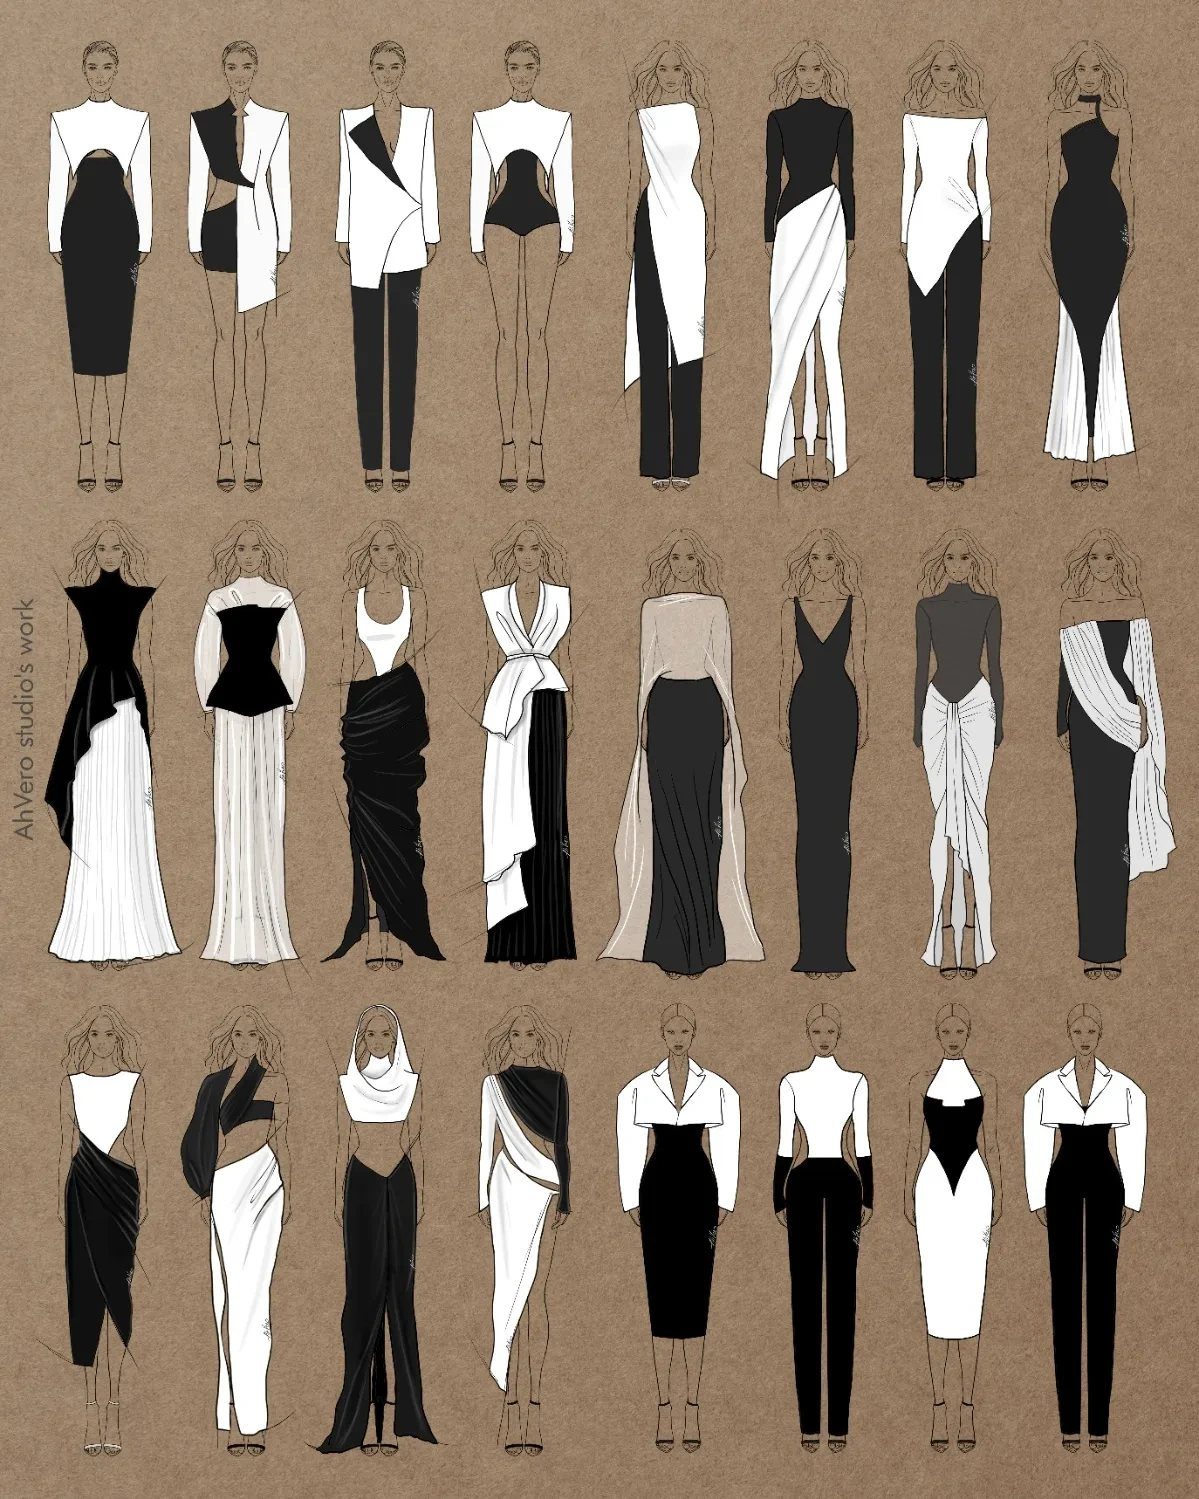
The fabric you draw changes everything about how the garment reads on the page. Heavy wool hangs in thick folds from shoulder and hip; silk pools and slides; denim holds its shape with barely a crease.
I draw the body first, then add the garment as if it were wrapping that form, marking where gravity pulls and where the body pushes back.
Start with one fabric you know well, something you have worn yourself. Draw it too stiff once, too loose once, and compare the two.
The distance between those versions is your control.
This matters most when you are showing a design to someone else who must judge it from the sketch alone. Artistic style is your own; accurate drape is a language you share with the person who might sew it.
3. Communicate Design Ideas
A sketch that communicates clearly beats a beautiful sketch that leaves the viewer guessing. I learned this sending a crooked sleeve to a tailor who interpreted my artistic shading as intentional volume; the finished sample had linebacker shoulders.
Now I keep the pose simple, the garment centered, and any unusual construction marked with a straight line and a note.
If you are uncertain about your drawing skill, trace basic outlines to build confidence. The sketch is a tool, not a portfolio piece, until you decide it is.
Clarity wins when you are working with a sewer, a client, or your own future self who will not remember what you meant by that smudge. Save flourish for the garment itself.
4. Add Details to Sketches
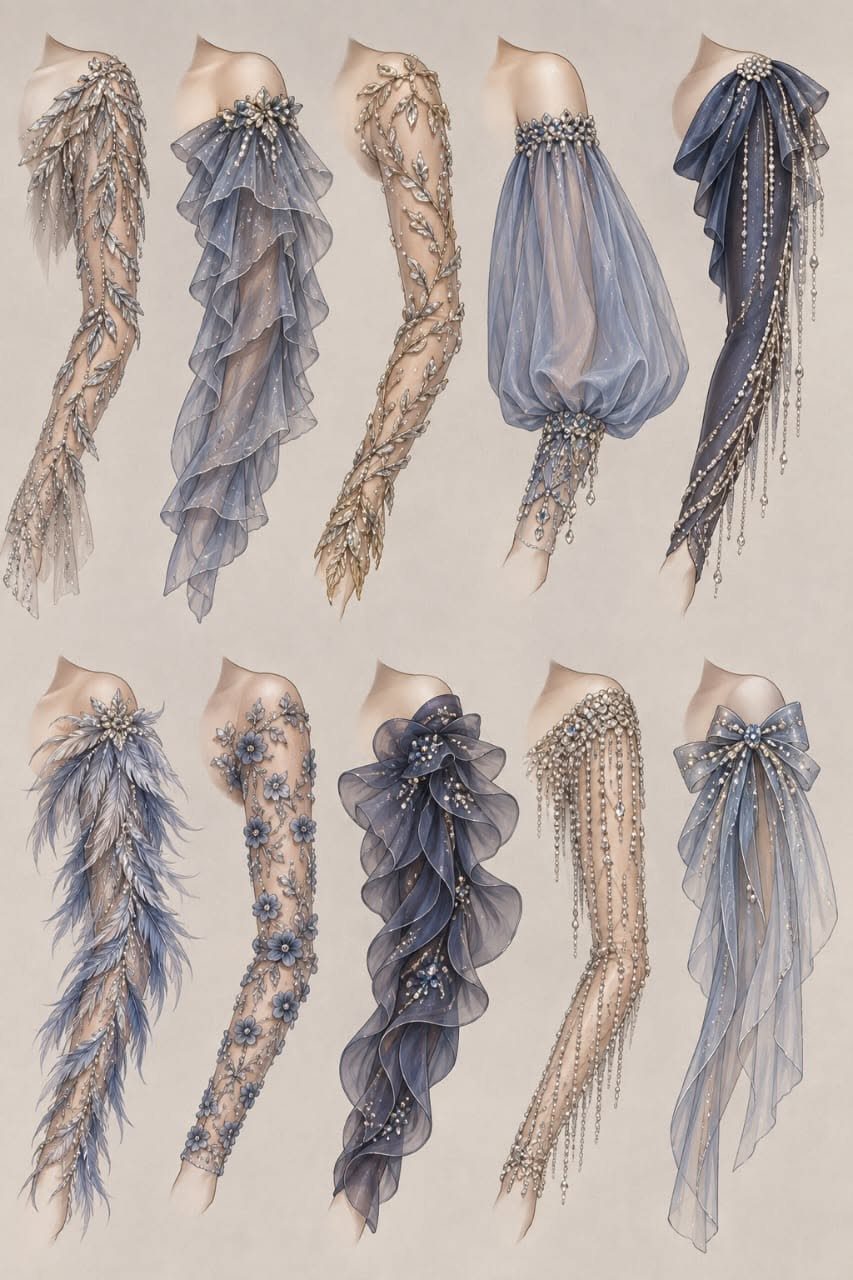
Details are where a sketch stops being a diagram and starts looking like a person might wear it.
Hair pulled back or loose changes the neckline; a bracelet draws the eye to a sleeve hem you spent time on; the wrong shoe weight can throw off a whole proportion.
I add these late in the process, after the garment itself reads correctly. Layering tulle, pearls, and crystal beadwork on a sleeve only works because the underlying arm shape was settled first.
Reversing the order traps beginners in fixing a face when the shoulder seam is wrong.
Accessories and texture suit a presentation sketch. For a working draft you will revise, leave them out; they slow the redraw.
5. Use Colored Markers or Paints
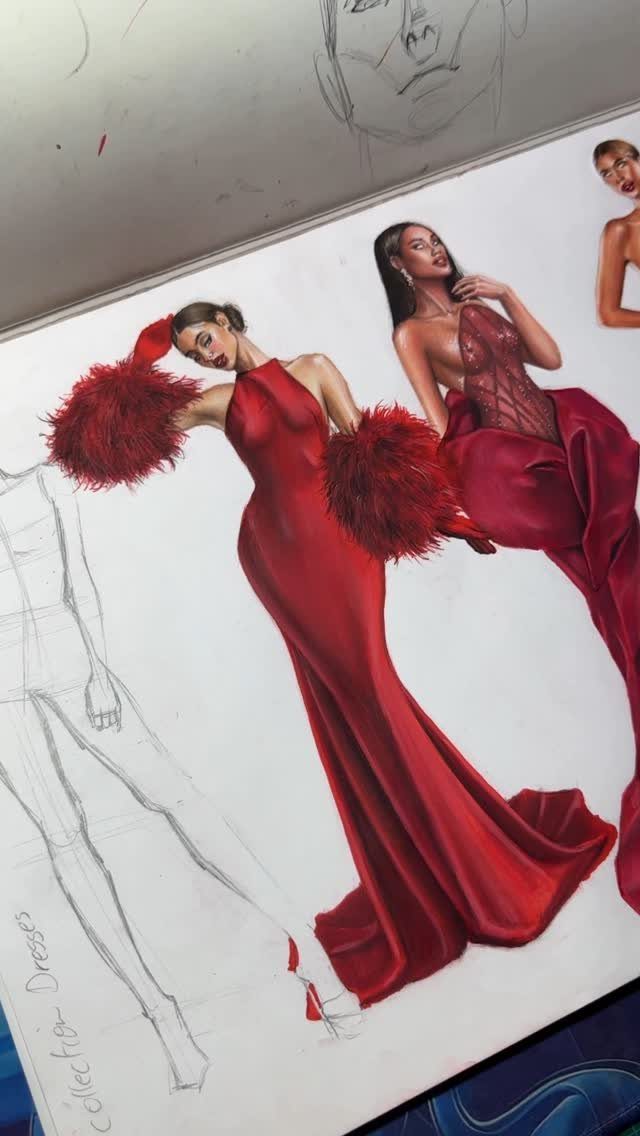
Color in a sketch does the work that fabric swatches do in a meeting: it proves the idea. I work in marker because the stroke is immediate and unforgiving, which forces decisions.
Layering two reds, one warm and one cool, gives a silk its sheen; a single flat fill reads as cotton or matte jersey.
High saturation with rendering that shows light catching folds reads as evening wear, whether the surface is sleek with feather accents or heavily textured.
Watercolor or gouache give softer blends but need drying time and heavier paper. Choose marker for speed, paint for presentations you will photograph.
Either way, test your colors on the paper you plan to use; marker on cheap paper feathers at the edge and wastes the precision you drew.
6. Draw Flats
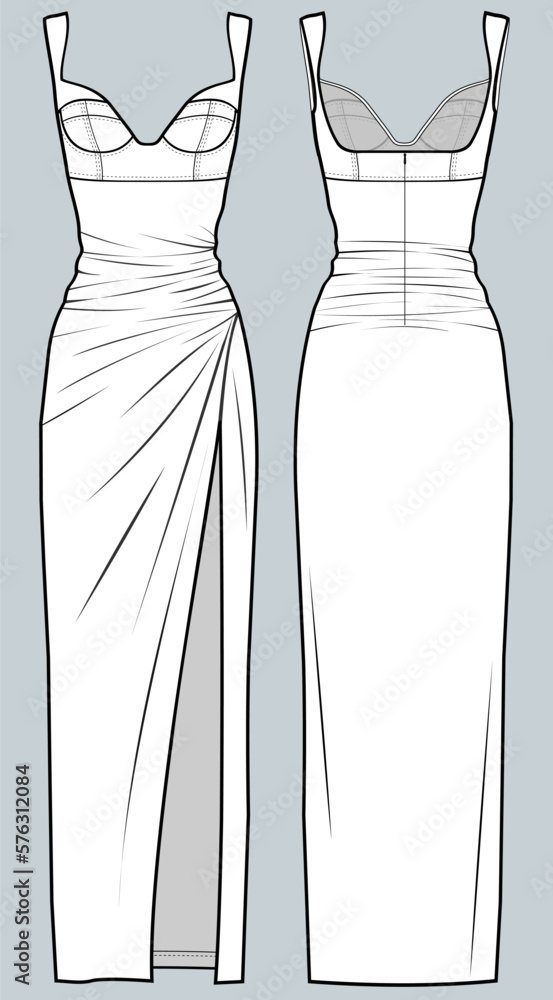
Flats are the engineer’s view of a garment: no body, no pose, just front and back laid flat so every seam and closure is measurable.
I draw them to check my own work, and any patternmaker I have worked with prefers them to a posed sketch for a first draft.
A corset bodice with ruching at the waist and a high slit reads one way on a figure, but the flat reveals whether the skirt drapes from the waist seam or is cut to hang, where the slit ends, how the back closes.
The front and back pair let you spot asymmetries you did not intend.
This is extra work. A posed sketch sells the idea; a flat proves it can be built.
I draw flats when I am serious about sewing the piece, or when I am asking someone else to.
7. Mixed Media Textured Gown Sketch
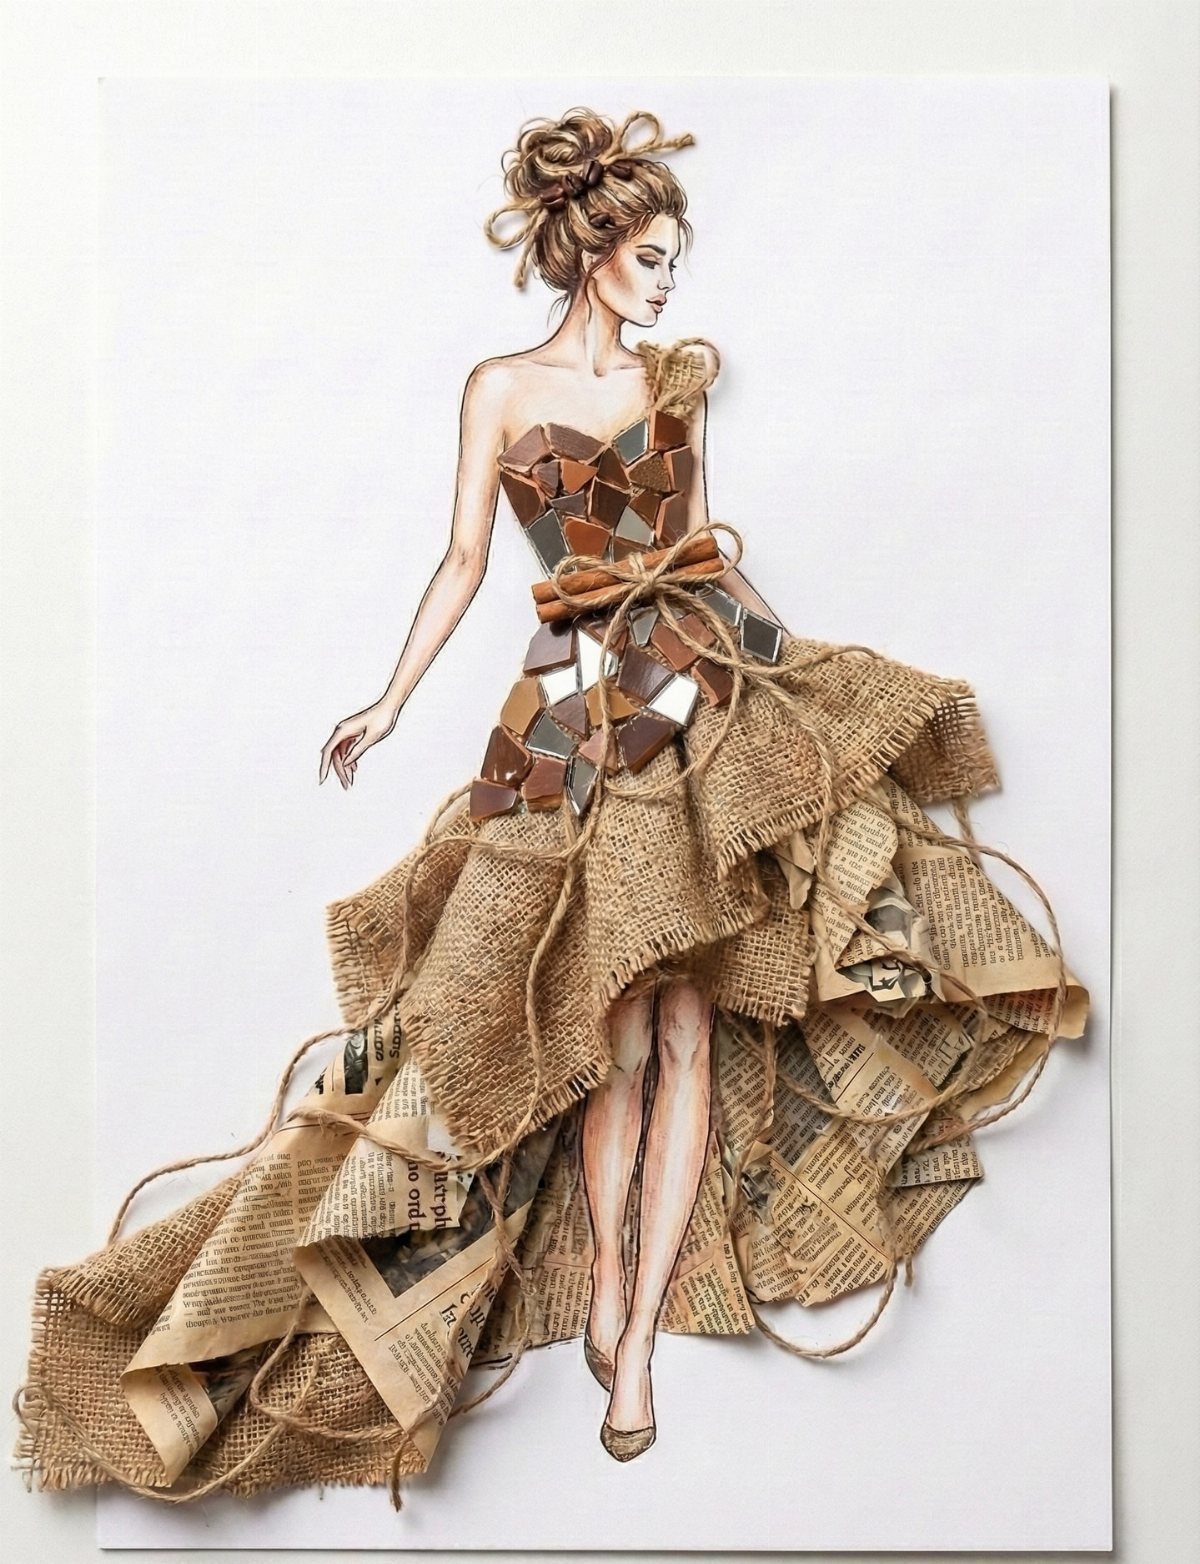
Mixed media turns a flat sketch into something you want to touch. Burlap scraps catch light differently than pencil alone, and mirror pieces throw back the room around them so the gown seems to shift as you move.
Start with a sturdy paper base, something that can take glue without buckling. Lay down your croquis in pencil first, then build the garment shape before adding texture.
The burlap works best for volume at the skirt or sleeves; mirror pieces need flat planes like a bodice so they stay put. Twine makes sense for cinched waists or strap details where a line wants emphasis.
This approach eats time. A single mixed-media sketch takes far longer than ink work, and the materials cost more than markers.
I’d save it for portfolio pieces or a final presentation, not for quick iterations when you’re still deciding on a silhouette. Someone picks up your sketch and holds it longer than usual.
8. Embellished Mermaid Gown Sketch
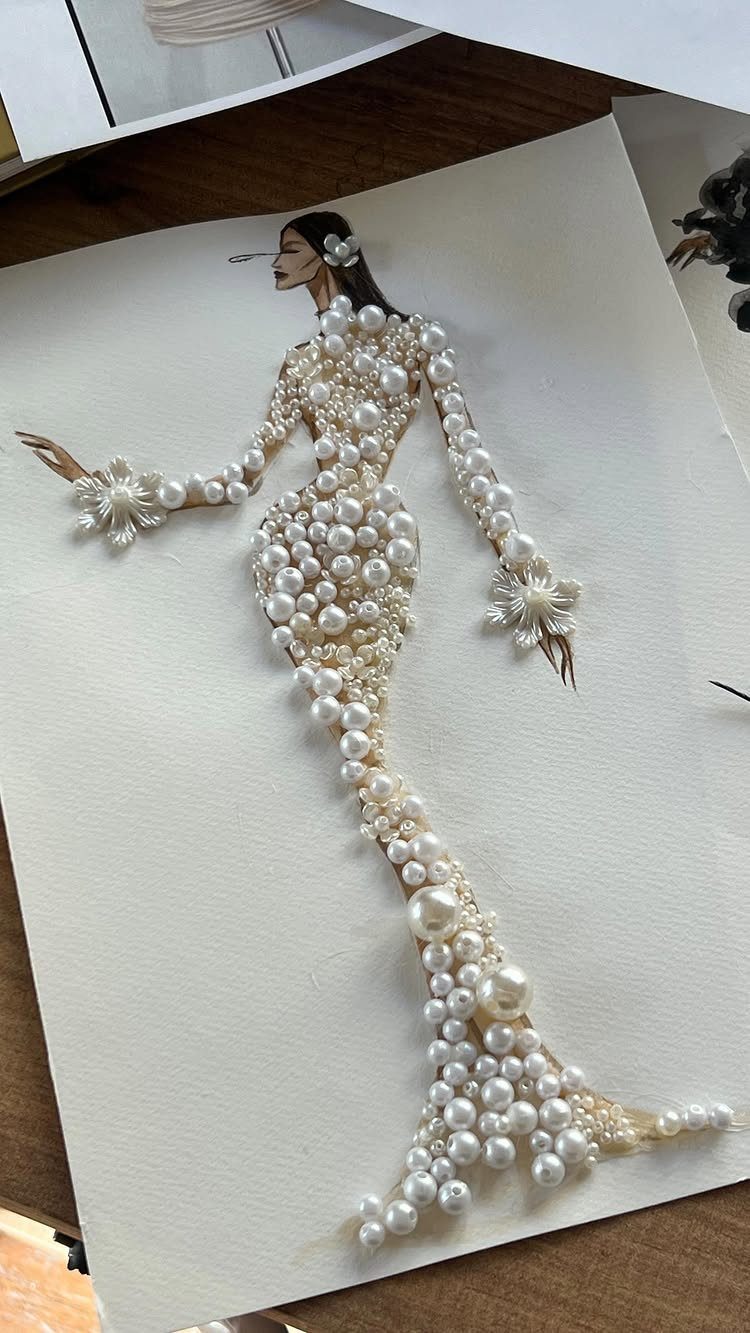
A mermaid gown lives or dies by its proportions, and 3D embellishments make that visible before fabric ever gets cut.
Faux pearls and floral beads sit on the paper the way they would on the body: clustered at the hip where the flare begins, trailing down the train, catching light against the fitted bodice.
Work on textured paper if you can; the slight tooth holds dimensional pieces better than slick surfaces. Glue dots work for lightweight beads, but anything heavier needs fabric adhesive or a stitch through the paper.
I place embellishments after the pencil sketch is fully shaded, not before, because erasing around a fixed pearl is nearly impossible.
The risk here is overdoing it. Sparse clusters of detail read as intentional; dense ones read as nervous.
I’d aim for asymmetry, heavier on one shoulder or trailing down one side of the skirt, rather than mirroring left and right. That reads more current, and it forgives a croquis that isn’t perfectly balanced.
9. Floral-accented Evening Gown Sketch
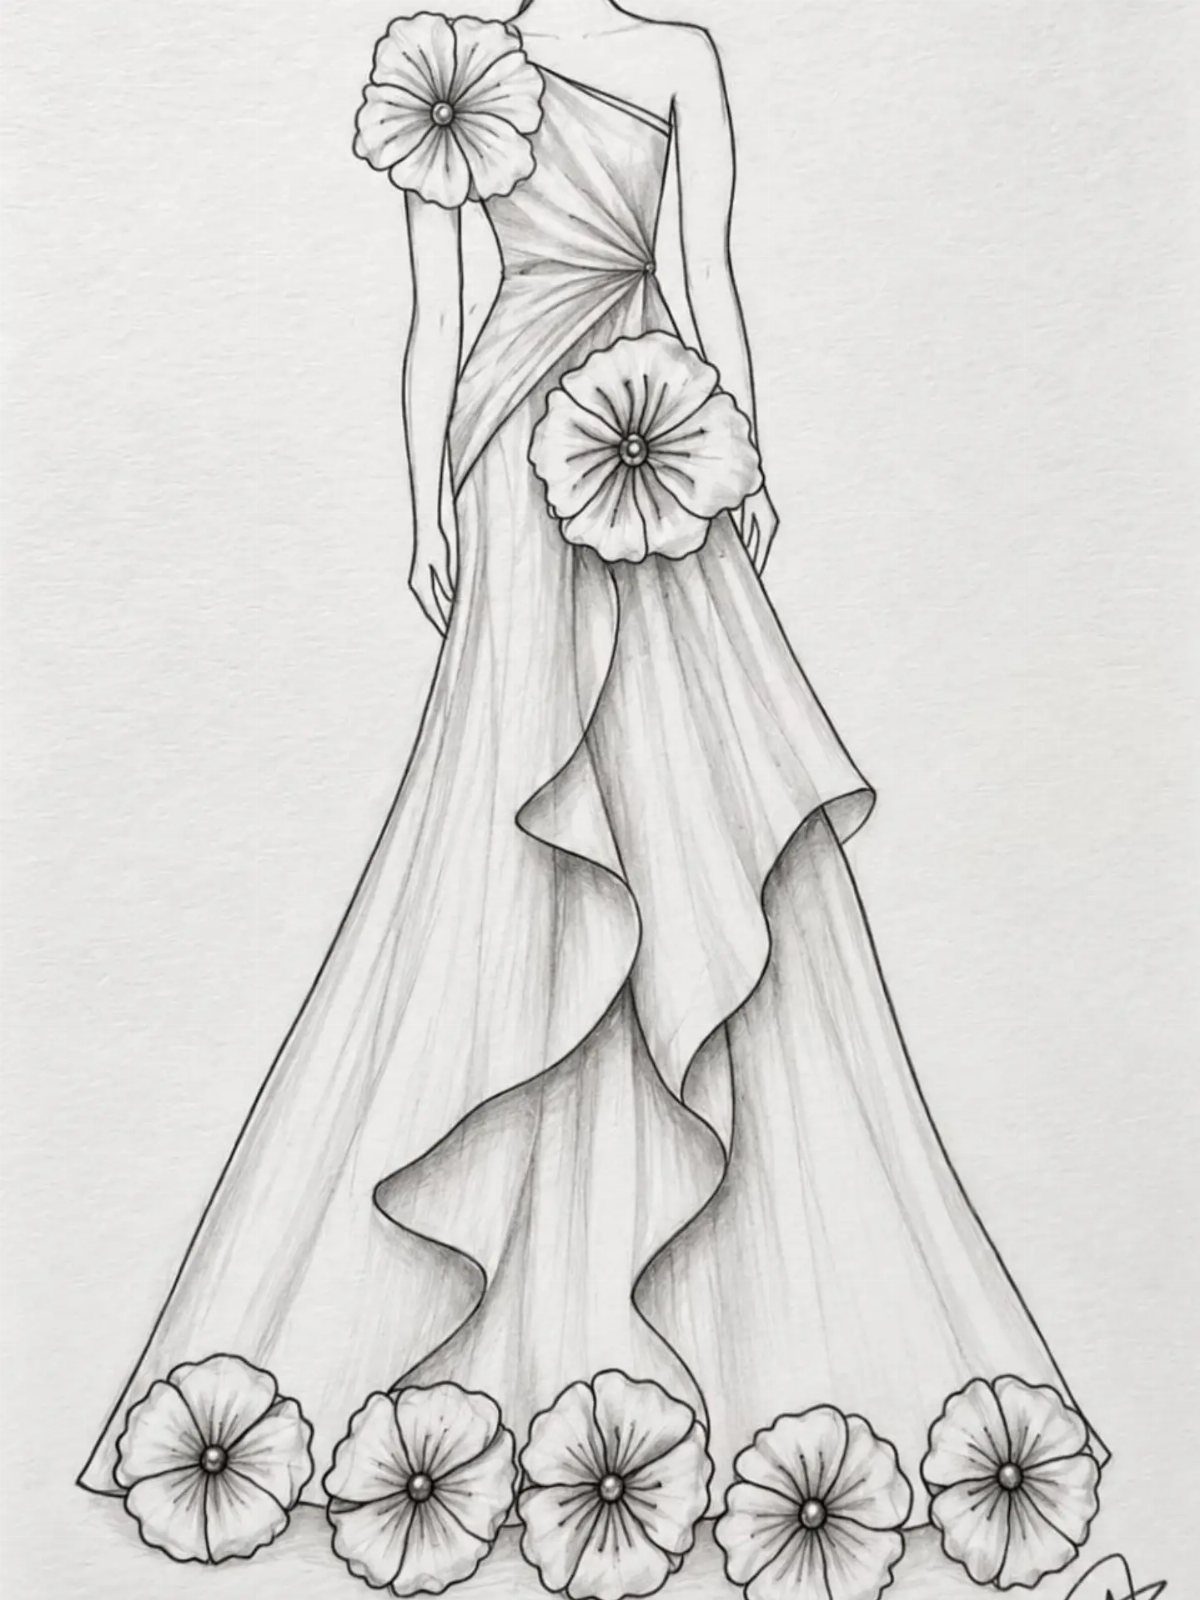
Pencil keeps the focus on shape and placement, which is exactly what you need when floral details matter most.
Large motifs at shoulder, waist, and hem create a vertical line that pulls the eye up and down, making the figure read as longer than a scattered, all-over pattern would.
Soft shading matters more here than in ink or marker work. I build up tone in layers, starting light and pressing harder only once the fold direction is locked in.
This style suits beginners better than mixed media because mistakes erase. Pencil takes far longer than a marker base; the difference is real when you are adding detailed florals.
I’d use this for client presentations where you want to look polished but not overworked, or for your own reference when you’re still moving elements around.
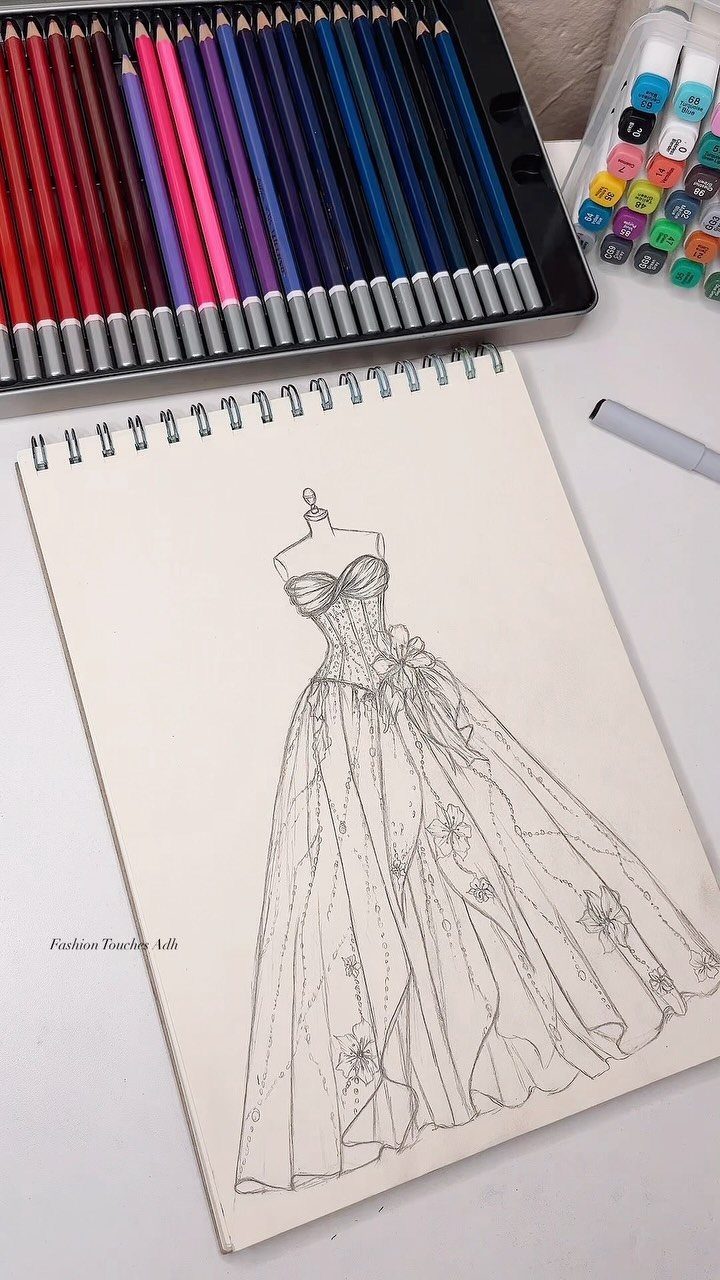
10. Voluminous Ball Gown Pencil Sketch
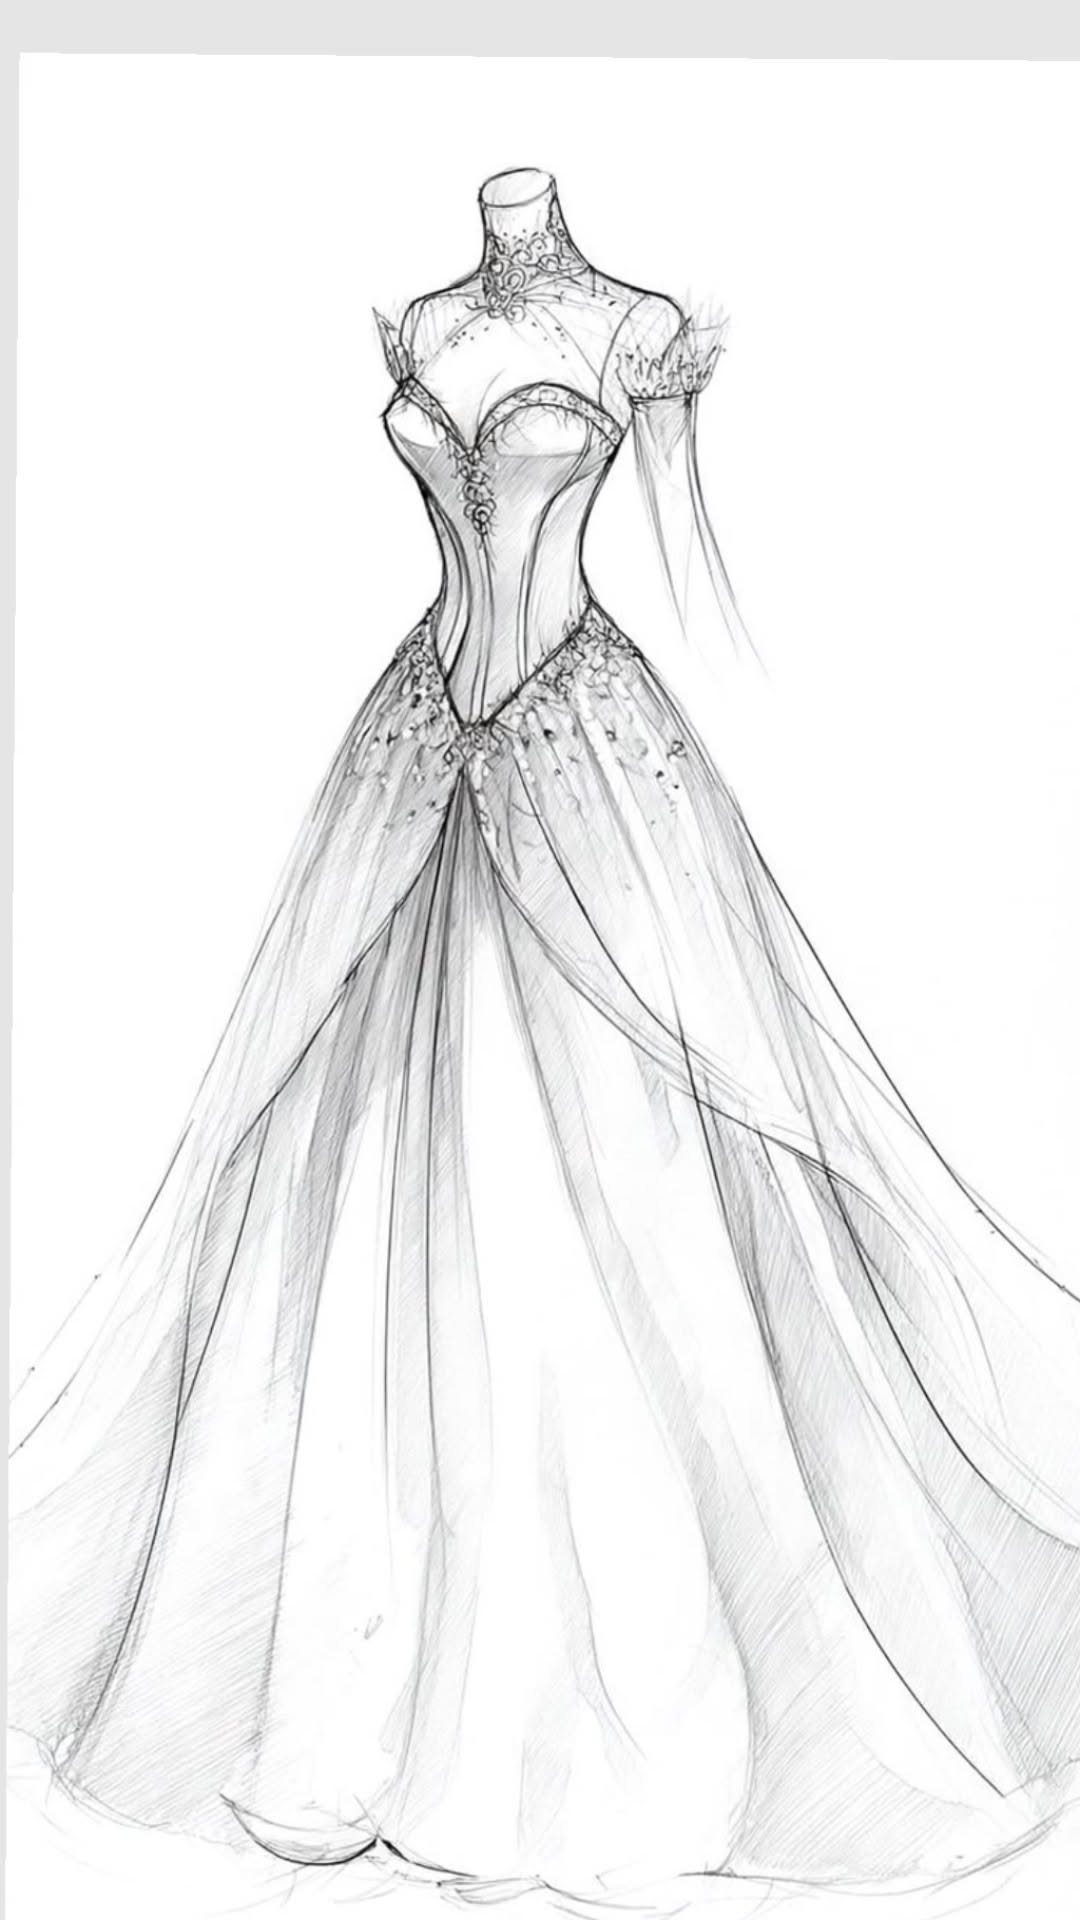
A ball gown sketch is where you prove you understand structure, because nothing else holds up that volume.
The corset bodice needs to read as engineered, with boning lines and seam placement that would actually support the skirt’s weight in real construction.
Pencil shading builds the skirt’s layers from the inside out. Start with the underlying shape, the basic dome, then add each tier’s edge as a darker line with lighter fill above it so the eye reads depth.
The high neckline and detailed bodice draw attention upward, balancing the visual weight below.
This approach demands patience. Rushing the skirt turns it into a lampshade; I’ve done it.
The fix is stepping back at intervals to check the overall silhouette against your croquis proportions.
I’d recommend this sketch type for anyone applying to design programs or pitching bridal work, since it shows technical control that simpler silhouettes don’t test.
Importance of Practice
A number 2 pencil works fine for starting out. Light marks matter more than the pencil grade; pressing hard digs grooves that catch marker later and limits how much you can adjust.
Pen looks confident in finished work but removes your room to correct, so I save it for signing a piece, not planning one.
Markers, inks, or paints come after the pencil stage. Which you choose depends on how fast you need the result and what paper you have underneath.
Testing the pair before you commit to a full sketch saves the frustration of feathered edges or buckled sheets.
A runway pose, model standing or mid-stride, is the easiest to learn because the body faces you squarely and all design lines stay visible.
Drawing this same pose a hundred times still teaches something; your hand starts to place the waist and knee without measuring each time.
Resources for Learning
Figure Drawing for Fashion Design covers body proportion from standard to elongated and shows how garment lines follow anatomy rather than float on top. The elbow page stays open on my desk whenever sleeves are fighting me.
The Fashion Sketchpad gives you pre-printed croquis templates, one per page, so the blank page stops staring back. This suits someone who wants to design clothes, not spend half a session sketching the same hip curve again.
Printed figure templates also come in specialty sketchbooks: child, petite, plus-size, male. Matching the template to your intended customer means the proportions you draw are the proportions you will sew, without mental translation later.
Sketching Techniques
Proportion starts with the head count. Nine heads tall is the runway standard; your hand learns this only by measuring against itself repeatedly.
A croquis drawn too short makes every coat look boxy, too tall and a maxi drags like a train when it should skim ankle.
Marking the fold direction shows whether your design allows movement or fights it.
Texture comes last, after the form reads true. Folds first, then the surface pattern or weave, then any trim.
Reversing this order buries structure under detail the eye cannot decode.
Creating a Croquis
Ignore the face and the clothes already on the model; you want the silhouette underneath. Transfer that to thin paper and simplify until you have clean lines that repeat.
Downloading a croquis skips the tracing step. Child, male, petite, and standard women’s shapes are available; print the one that matches your design customer, not the one that looks prettiest on your screen.
A sketchbook with templates pre-printed on every page removes the setup friction. The cost is less than buying separate croquis pads, and the binding keeps your progress in sequence.
I fill one of these when I am working through a collection idea and need to see designs side by side.
Frequently Asked Questions
How to sketch a dress design?
Start with a croquis, the blank figure you trace your design onto. Nine heads tall is what the industry expects; go shorter and the figure looks off-the-rack, go taller and it stops reading human.
Once one croquis feels right, make copies so starting fresh never costs you the good one.
Gravity pulls the fabric down at the hem and drapes it in folds; the body pushes back at bust, waist, and hip, and those contact points are where the sketch lives or dies.
What is a clothing design sketch called?
A clothing design sketch is often referred to as a fashion illustration. The blank figure you draw onto is called a croquis.
The sketch itself can serve different purposes: a posed sketch sells the idea, while a flat, the engineer’s view with no body and no pose, proves it can be built.